Building a Giant 3D Moustache – Part 3
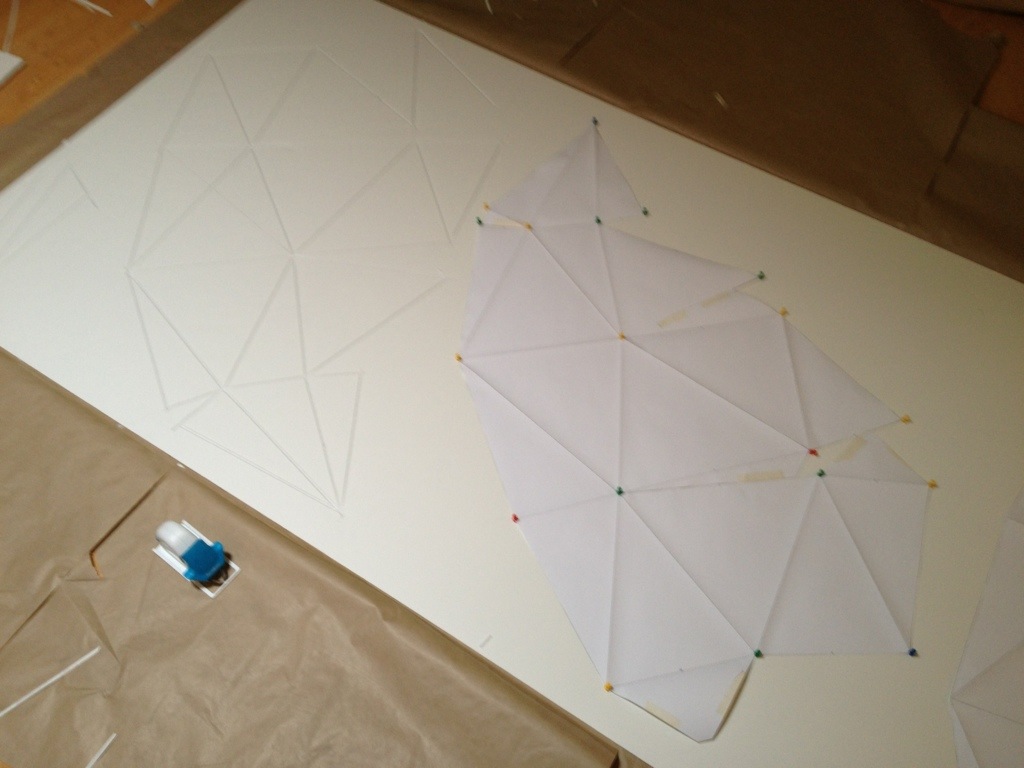
For the final build I unfolded the full-size paper model and traced it on the foam core. I used push-pins to mark the vertices and then drew lines from point to point.
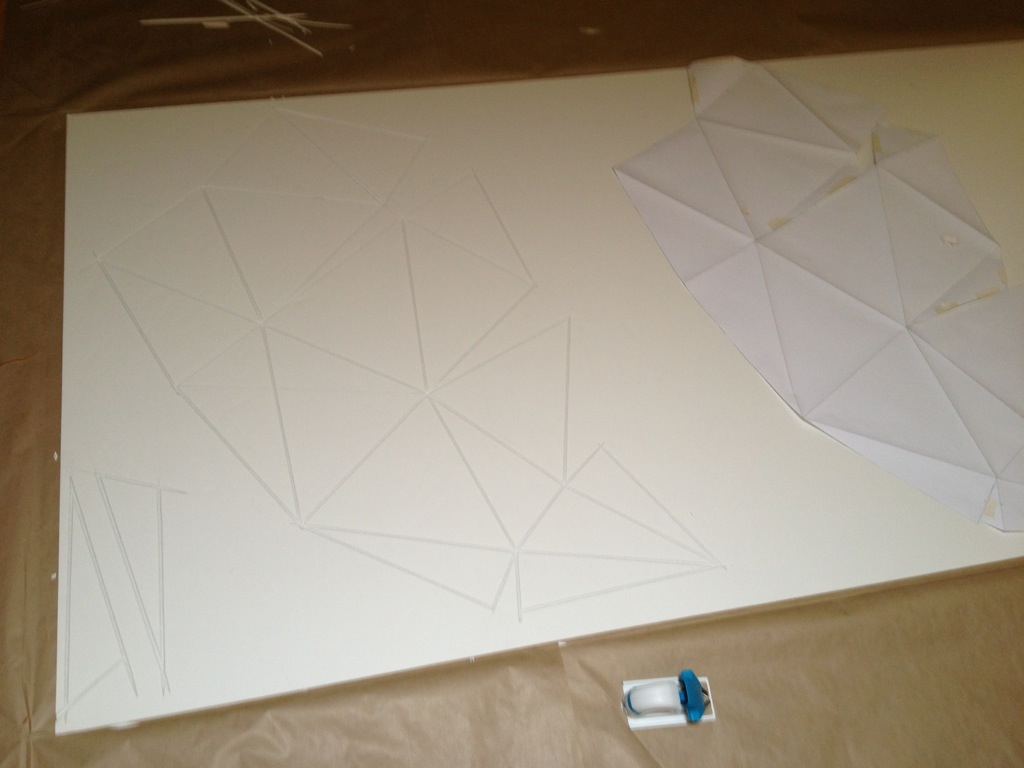
I used a 45° foam cutter and tried to get as close to the paper on the other side as I could. That way I would be able to make the folds easily with out too much resistance. I cut the outline with a regular Exacto after I made all the 45° cuts.
At this point I stopped taking photos because I was stressing to get the model finished. The Moustachio Bashio was that night. The folding worked pretty well with the 45s taken out. It could have been better though. I did meet some resistance which meant I had to be creative to get the final model stay together without deforming. Using spray adhesive and the brown wrapping paper that the foam came in, I bonded the open faces together.
This was harder than I expected, and because I was rushing turned out to be a little sloppier than I would have liked. The form was still pretty fragile and would not hold its shape well so I threaded a needle and sewed supporting strings into the back. This worked really well. I only needed 5 reinforcing tethers. At this point I was backstage at the venue and the first DJ was warming up so I just used white Gaff tape to attach the model to the back face. Luckily you couldn’t tell once it was hung. We had already done a placement test and calibrated the projector earlier that week. Once I finished the model I hung it right up with two chains that hooked into eyelets bolted into the plywood backing. Boy did being finished feel amazing. I came super close to having nothing to show for all my efforts.
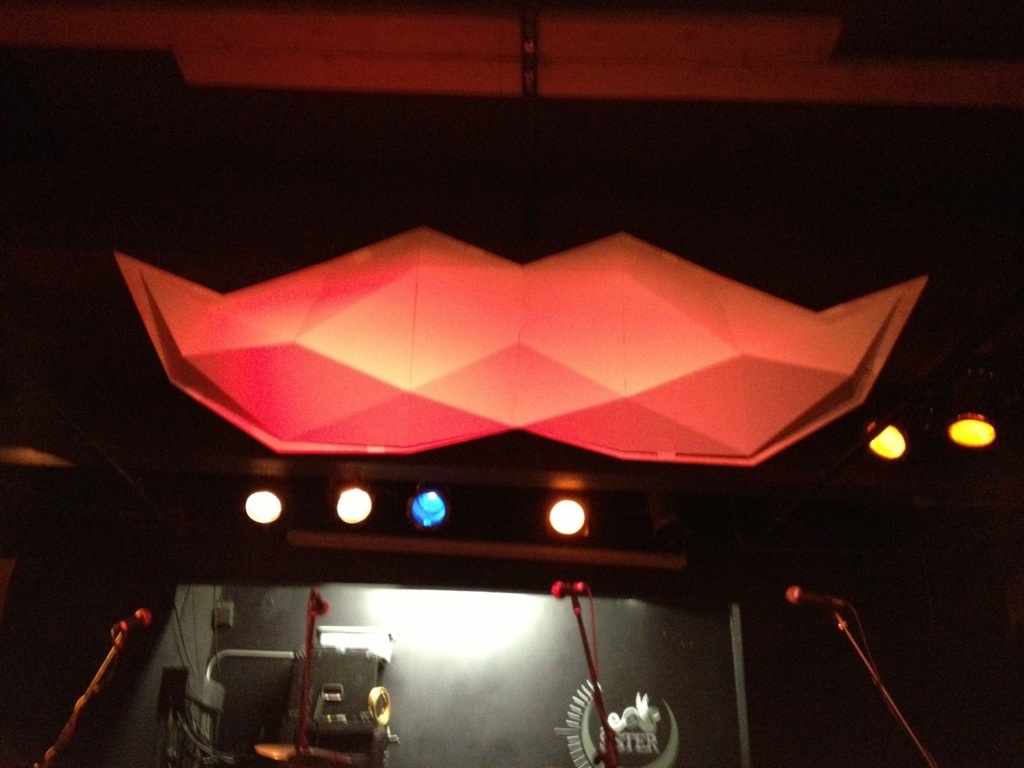 Finally Done!
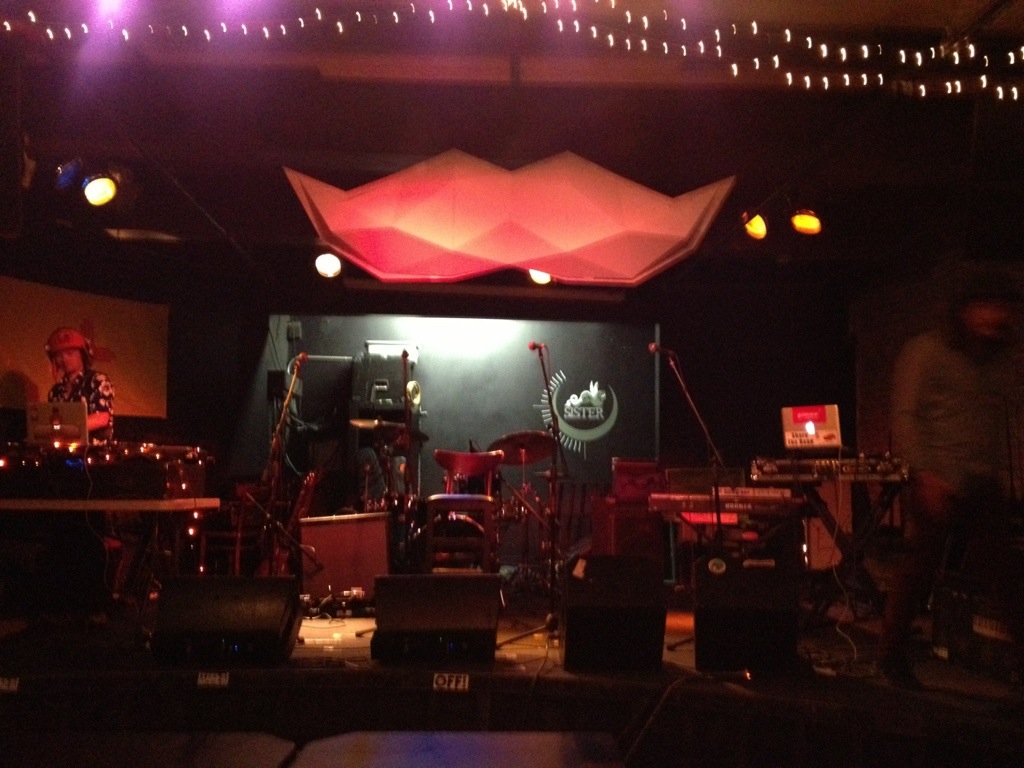
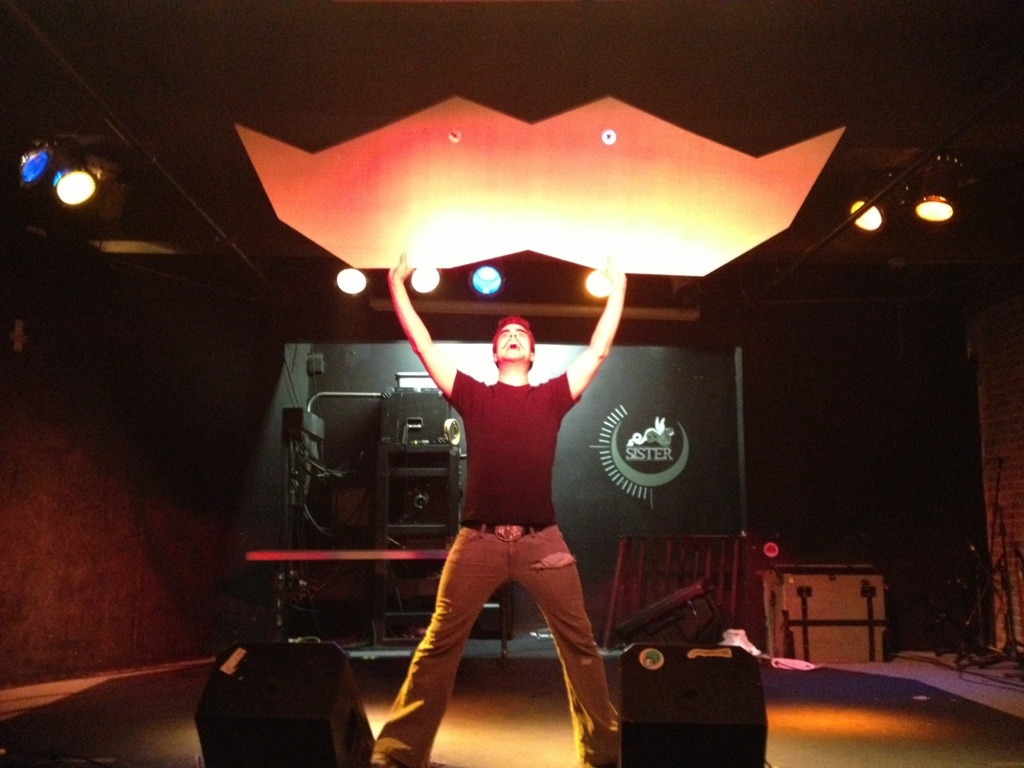 This is from the placement test the week before. Our host Danger is obviously having fun.